How To Access RedHat Linux Server Via SSH
Ah, the wonders of the command line! For those of us who live and breathe in the realm of servers, SSH (Secure Shell) is our trusty sidekick, allowing us to seamlessly access and control remote systems with the elegance of a virtuoso pianist. And today, my friends, we’re about to embark on a journey that will unlock the secrets of connecting to those formidable Red Hat servers via SSH.
But first, a word of caution: this tutorial is not for the faint of heart. It’s a deep dive into the world of terminal commands, where a misplaced semicolon can bring even the mightiest servers to their knees. So, buckle up, grab your favorite hot beverage, and let’s begin!
Step 1: Locate Your SSH Credentials
Before we can establish our secure connection, we need to gather our credentials. These are like the secret handshakes that grant us access to the server’s inner sanctum. Typically, your friendly neighborhood system administrator will provide you with a username and a private key (a file with a .pem or .ppk extension).
If you’re still hunting for those elusive credentials, fear not! Simply channel your inner detective and scour through those old email threads or pester your trusty sysadmin until they surrender the goods.
Step 2: Fire Up Your Terminal
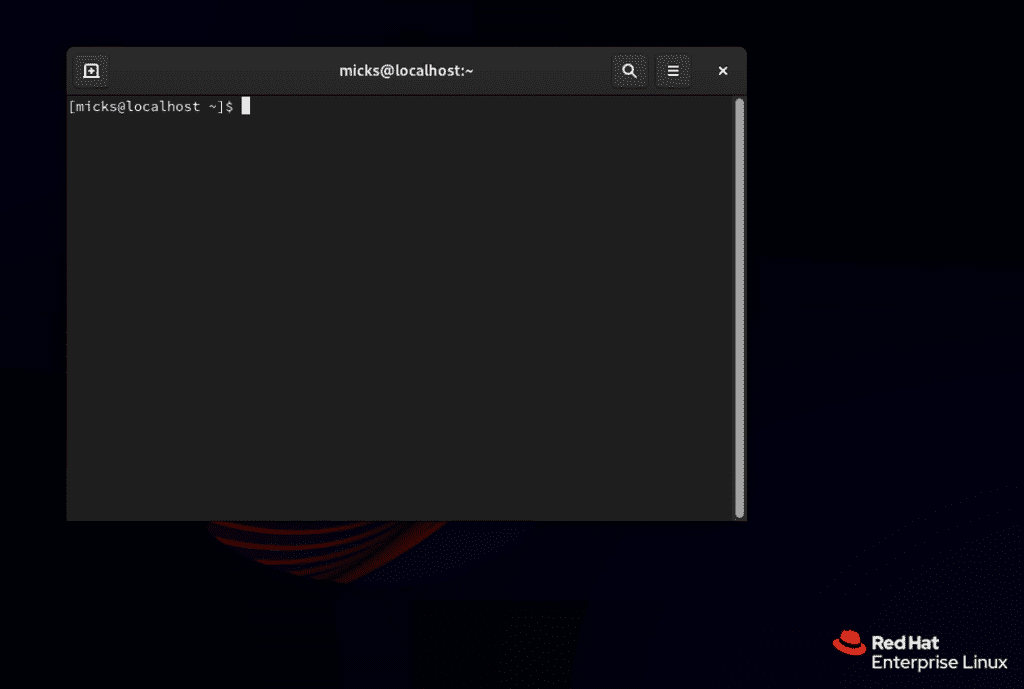
It’s time to summon the power of the command line! On your local machine, open up that trusty terminal application (or console, for our Windows friends). This is where the magic happens, and it’s also where we’ll be putting our typing skills to the test.
Step 3: Connect to Your Red Hat Server
Now, for the moment you’ve been waiting for! To initiate the SSH connection, enter the following command into your terminal:
ssh username@hostnameReplace username with your actual username, and hostname with the IP address or the fully qualified domain name (FQDN) of your Red Hat server.
If you’re using a private key for authentication, you’ll need to add the -i flag followed by the path to your private key file:
ssh -i /path/to/your/private/key.pem username@hostnameStep 4: Embrace the Power of SSH
Congratulations! If you’ve made it this far without any error messages or spontaneous combustion, you’re now securely connected to your Red Hat server. From here, the world is your oyster (or at least, the server is).
You can navigate directories, edit files, run commands, and generally flex your system administration muscles like a seasoned pro. Just remember to treat your server with respect, and always double-check your commands before hitting Enter (unless you’re a fan of impromptu firefighting exercises).
Bonus Tip: SSH Tunneling – Unleash the True Potential
For those of you seeking an extra layer of excitement, why not try your hand at SSH tunneling? This nifty technique allows you to securely forward traffic from your local machine to the remote server, essentially creating a secure tunnel through the vast expanse of the internet.
With SSH tunneling, you can access services running on the remote server as if they were running locally on your machine. It’s like having a private, encrypted bridge connecting your devices, and it’s an absolute game-changer for remote work, development, and all sorts of other scenarios.
But alas, the art of SSH tunneling is a topic worthy of its own epic tome. For now, bask in the glory of your newfound SSH mastery, and know that greater challenges (and rewards) await those daring enough to venture further down the rabbit hole.
And there you have it, my fellow command line crusaders! You now possess the knowledge to conquer Red Hat servers via SSH, one secure connection at a time. Wield this power wisely, and may your terminal sessions be filled with efficiency, productivity, and perhaps a sprinkle of well-deserved geek humor.
Happy SSHing!