
Setting Up an HTML Server on Red Hat Linux
If you need to host basic HTML files or a simple website on a Red Hat Linux system, setting up a lightweight web server like Apache HTTP Server or Nginx is a straightforward process. Here’s how you can get an HTML server up and running on your Red Hat machine:
Installing Apache HTTP Server
- Open a terminal and use the yum package manager to install Apache:
sudo yum install httpd- Once installed, start the Apache service:
sudo systemctl start httpd- Verify that the service is running:
sudo systemctl status httpd- Allow HTTP traffic through the firewall:
sudo firewall-cmd --permanent --add-service=http
sudo firewall-cmd --reload- Your default Apache document root is
/var/www/html/. You can place your HTML files here or configure Apache to use a different directory.
Testing the Server
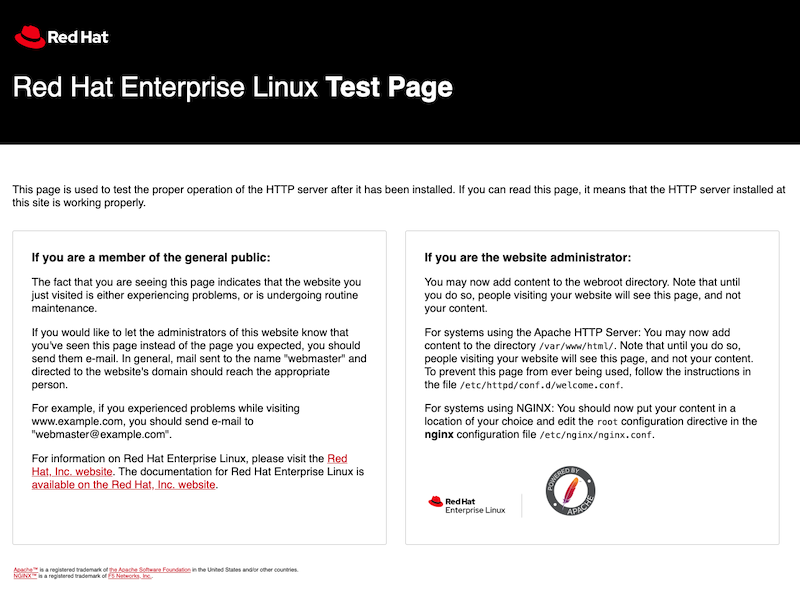
With Apache installed and running, you can test your server by accessing http://YOUR_SERVER_IP from a web browser. You should see the default Apache homepage (see below) if everything is set up correctly.
Configuring Apache
The main Apache configuration file is /etc/httpd/conf/httpd.conf. Here you can customize settings like listening ports, virtual hosts, directory permissions, and more.
For basic HTML hosting, you likely won’t need to modify too many settings. But it’s a good idea to configure at least:
ServerNameto match your domain/IPDocumentRootto point to your website files directory
Setting Up Nginx
As an alternative to Apache, you can use the lightweight Nginx web server:
- Install Nginx:
sudo yum install nginx- Start the Nginx service:
sudo systemctl start nginx - Allow HTTP traffic and verify Nginx is running.
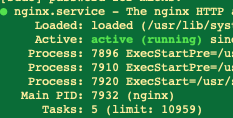
sudo systemctl status nginxThis will show you the current status of the Nginx service. You should see something like “Active: active (running)” if it started successfully.
To allow HTTP traffic through the firewall for Nginx:
sudo firewall-cmd --permanent --add-service=http
sudo firewall-cmd --reload
This will open port 80 to allow regular HTTP traffic.
If you plan to also enable HTTPS on your server, you’ll want to allow that traffic as well:
sudo firewall-cmd --permanent --add-service=https
This opens port 443 for HTTPS.
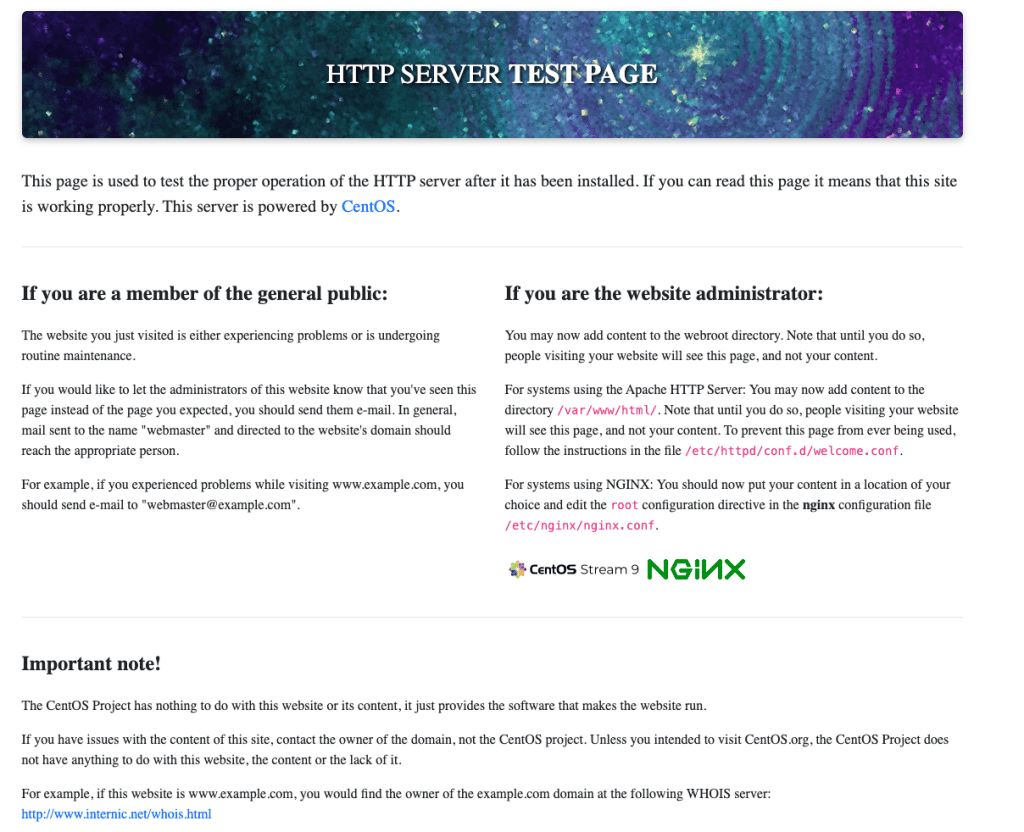
After allowing the HTTP/HTTPS traffic through the firewall, you can test your Nginx server by visiting http://YOUR_SERVER_IP in a web browser. You should see the default Nginx landing page.
With the firewall rules added, you can test your server at http://YOUR_SERVER_IP, if everything is fine you should see the default HTTP Server Test Page. That means you are now ready to host you website.
With Nginx set up, you now have a lightweight web server ready to serve your HTML content. Be sure to secure your server, enable HTTPS, and consider performance optimizations for production environments.
Nginx configuration is done in /etc/nginx/nginx.conf and virtual host files in /etc/nginx/conf.d/.
With either Apache or Nginx set up, you now have a web server ready to serve your HTML content. Be sure to secure your server, enable HTTPS, and consider performance optimizations for production environments.