Step-By-Step: Installing MySQL 8.0 On Mac OS
Whether you’re a software developer building web applications or working on any project that requires a database system, having MySQL installed on your local machine can be extremely useful. MySQL is one of the most popular open source database management systems, used by countless websites and applications across the internet.
In this step-by-step tutorial, I’ll walk you through how to install the latest version of MySQL (8.0 at the time of writing) on your Mac OS computer. I’ll be demonstrating the install on macOS Sonoma (Version 14.3), but the process should be nearly identical on other recent versions of Mac OS.
Prerequisites
Before we get started, make sure your Mac meets the following requirements:
- Running a 64-bit Intel or Apple silicon-based Mac with macOS 10.13 High Sierra or newer
- Have administrative privileges to install software on your machine
- Have a user account password set (for the sudo commands used during install)
If your Mac meets those requirements, you’re ready to begin!
Step 1 – Downloading the MySQL Installer
The first step is to download the official MySQL Installer from the MySQL developer site. This will allow us to install MySQL in just a few clicks.
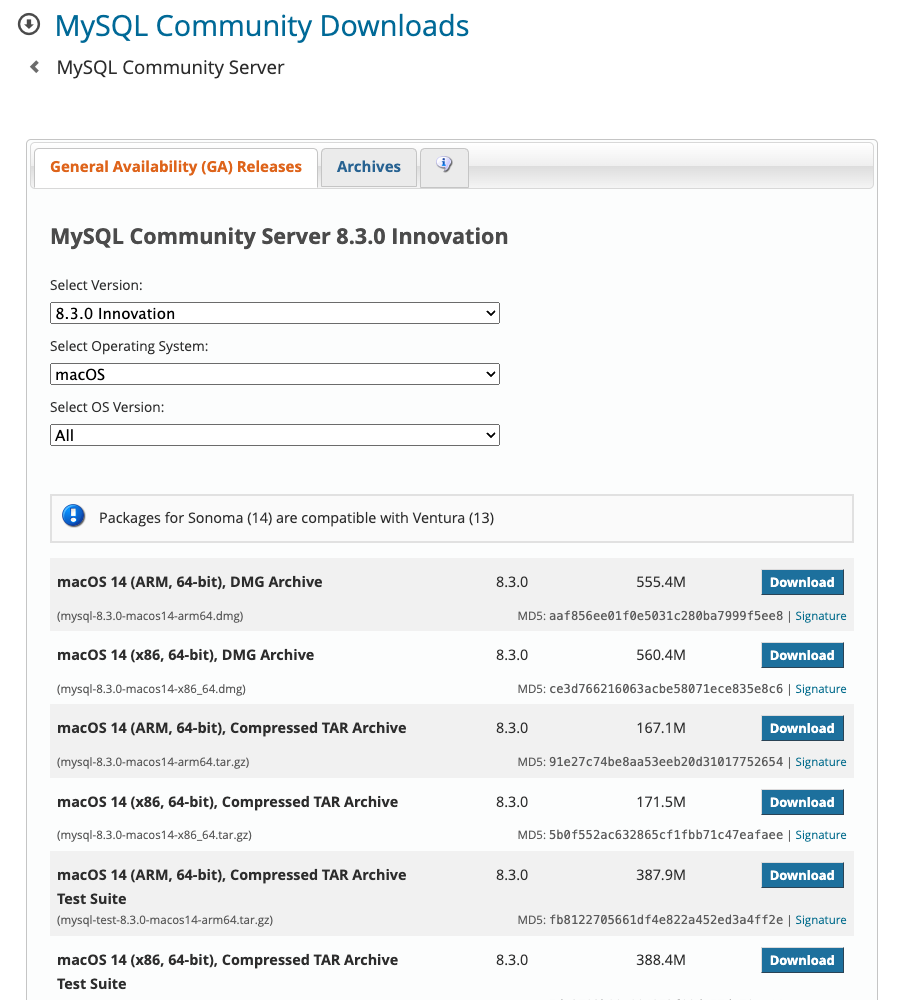
Go to https://dev.mysql.com/downloads/mysql/ and download the DMG archive file for macOS. Be sure to select the appropriate version for your mac in my case, because I am using macOS Sonoma 14 on an M1 chip I picked the macOS 14 (ARM, 64-bit), DMG Archive option. If you are using the latest M1 Chip, it is highly recommended to always use the ARM version of the installer for better performance and efficiency.
The file should begin downloading automatically. Take note of the downloads location so we can access the installer DMG file.
Step 2 – Installing MySQL
Now we’ll run the installer to get MySQL set up on our machine.
- Open your Downloads folder and locate the MySQL installer DMG you downloaded. Double click it to mount the image.
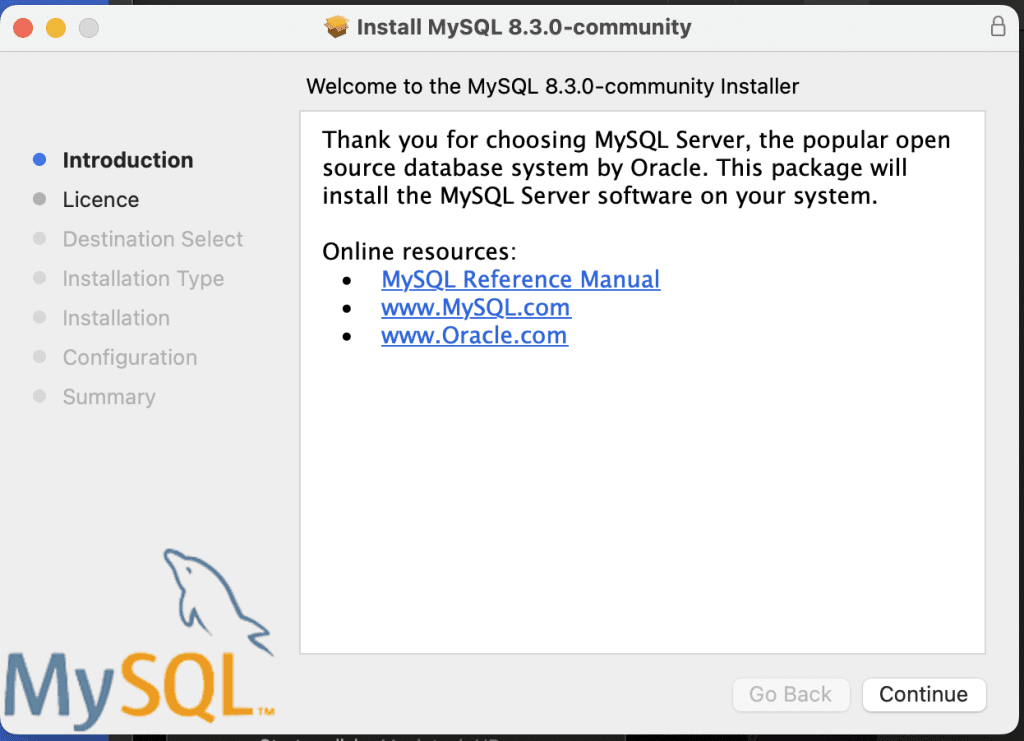
- You should now see a popup finder window with the MySQL installer package. Double click the package to run the installer.
- You may see a security prompt asking if you want to allow this software to run. Click open to approve the installer to run.
- On the first page of the installer, click Continue.
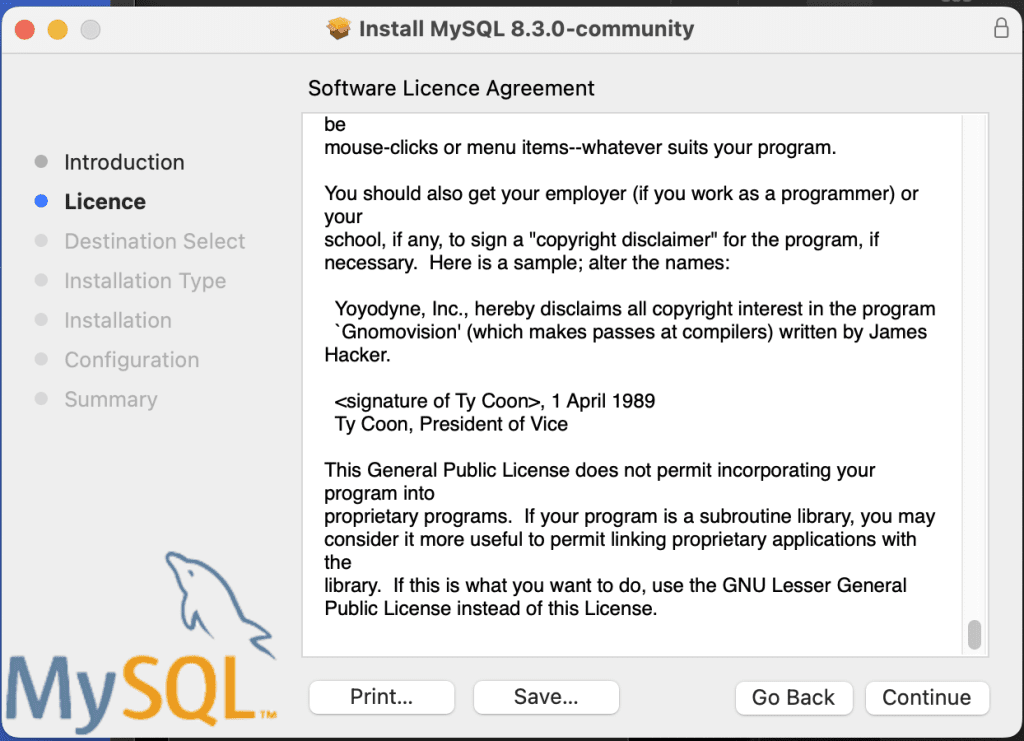
5. Agree to the license terms by clicking Continue, then click Continue again.

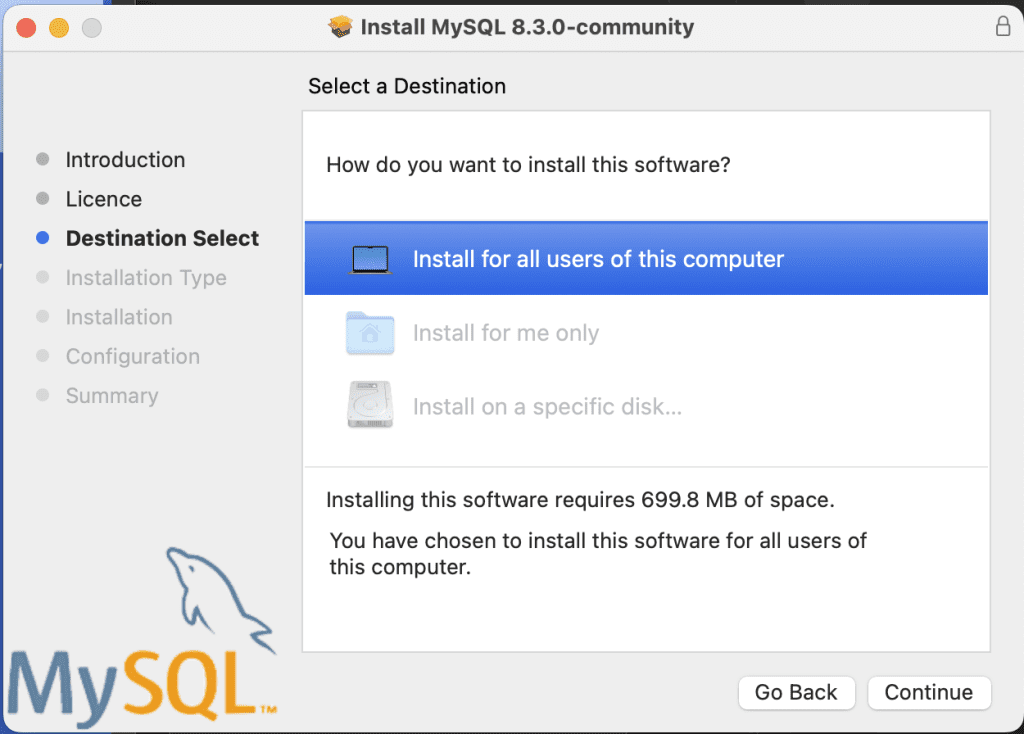
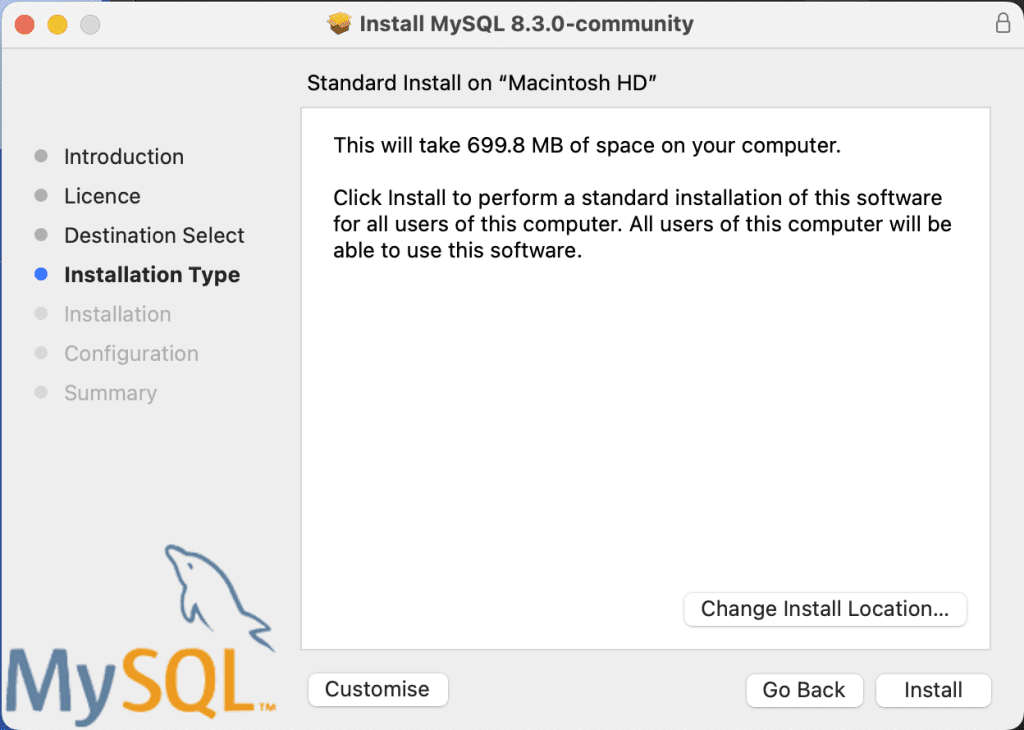
6. The default install type is fine, so just click Install to proceed.
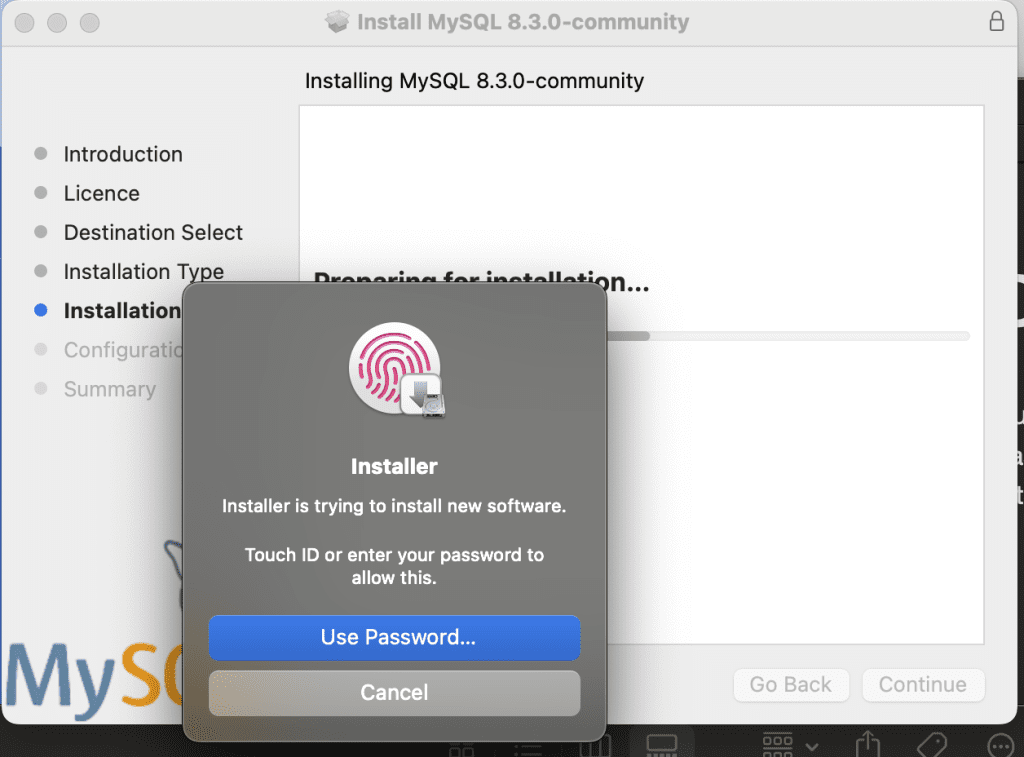
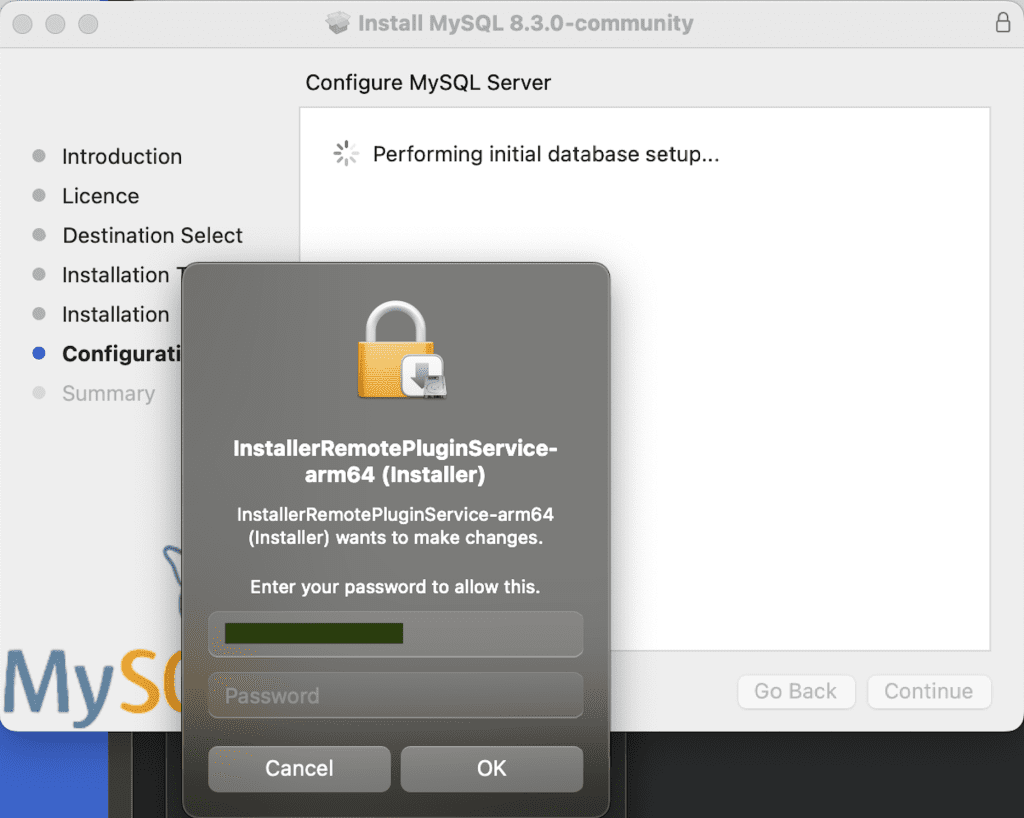
7. Provide your administrator password when prompted to approve the installation.
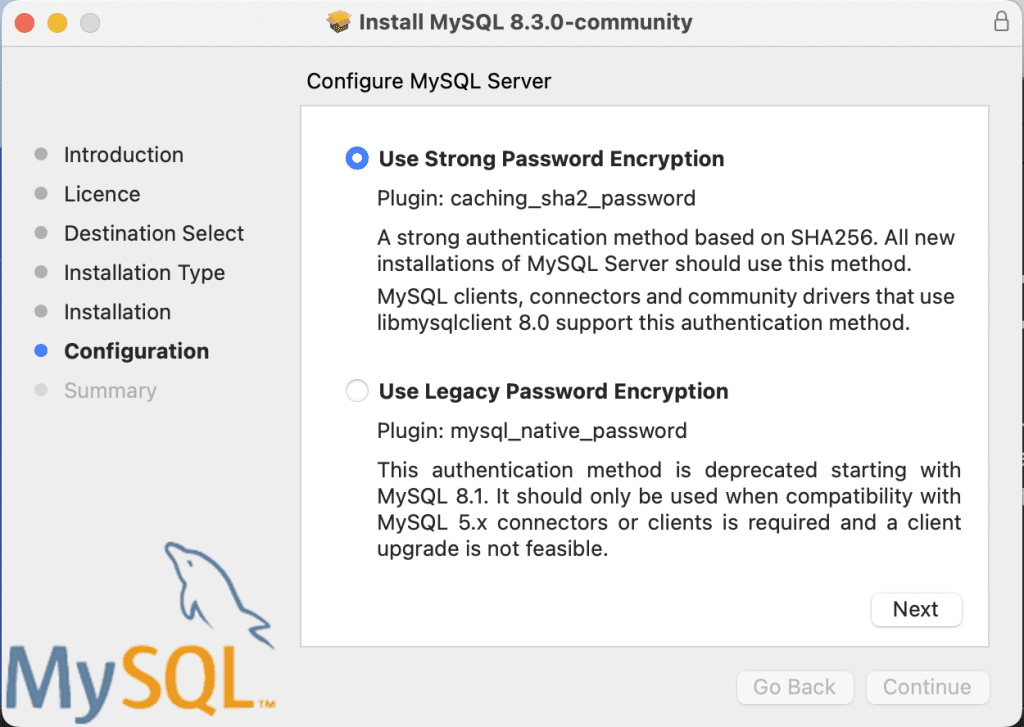
8. Click Next to use the recommended password encryption method
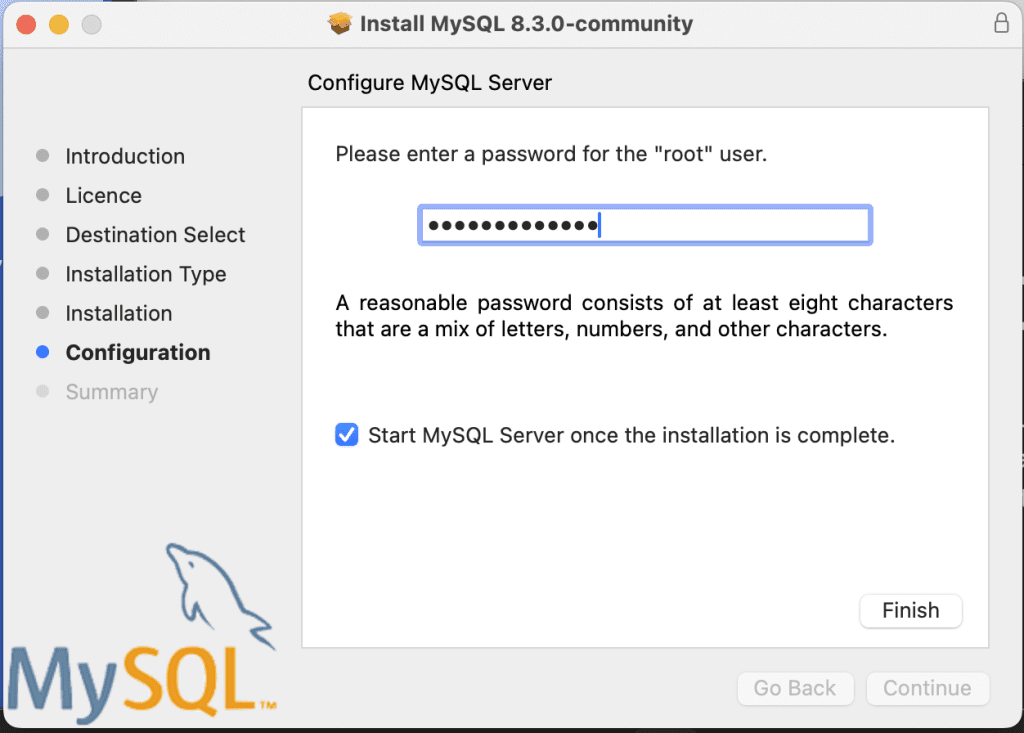
9. You need to create a root user, make sure you remember the root password so you can easily make change in the future, then hit Finish.
10. Confirm the installation by providing your username and passwrod
11. Finally, after a minute or two, MySQL should finish installing. Click Close to exit the installer.
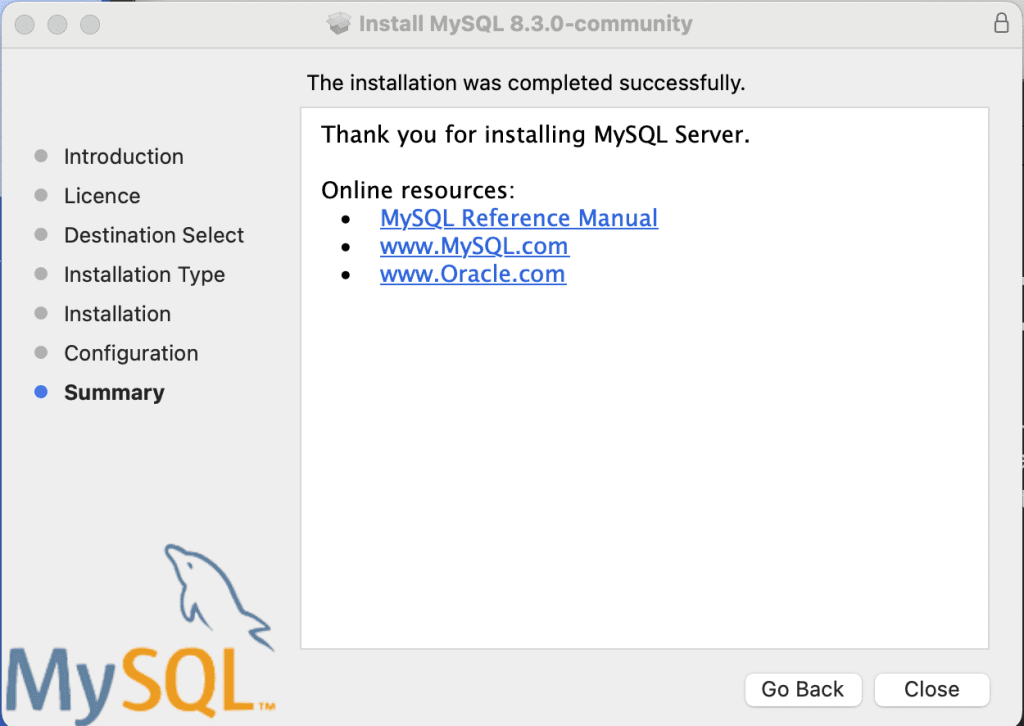
And we’re done! MySQL is now installed and ready to use.
Step 3 – Managing MySQL Service
Now we need to set MySQL to run as a system service so it will automatically start up each time you boot your computer. We can manage this and other settings using the MySQL Preferences Pane.
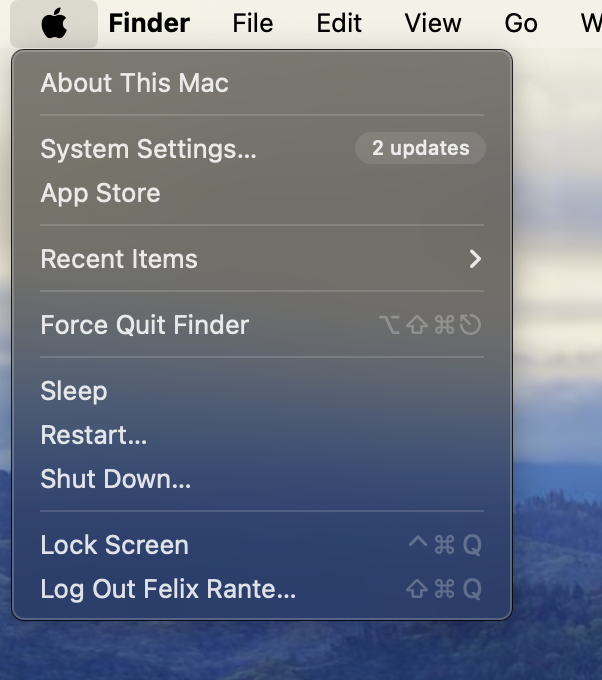
Launch System Preferences on your Mac, typically by clicking the Apple icon in the top left and selecting System Settings (or System Preferences for other versions).
Click the MySQL icon in System Settings to open the MySQL management pane. It is located at the very bottom.
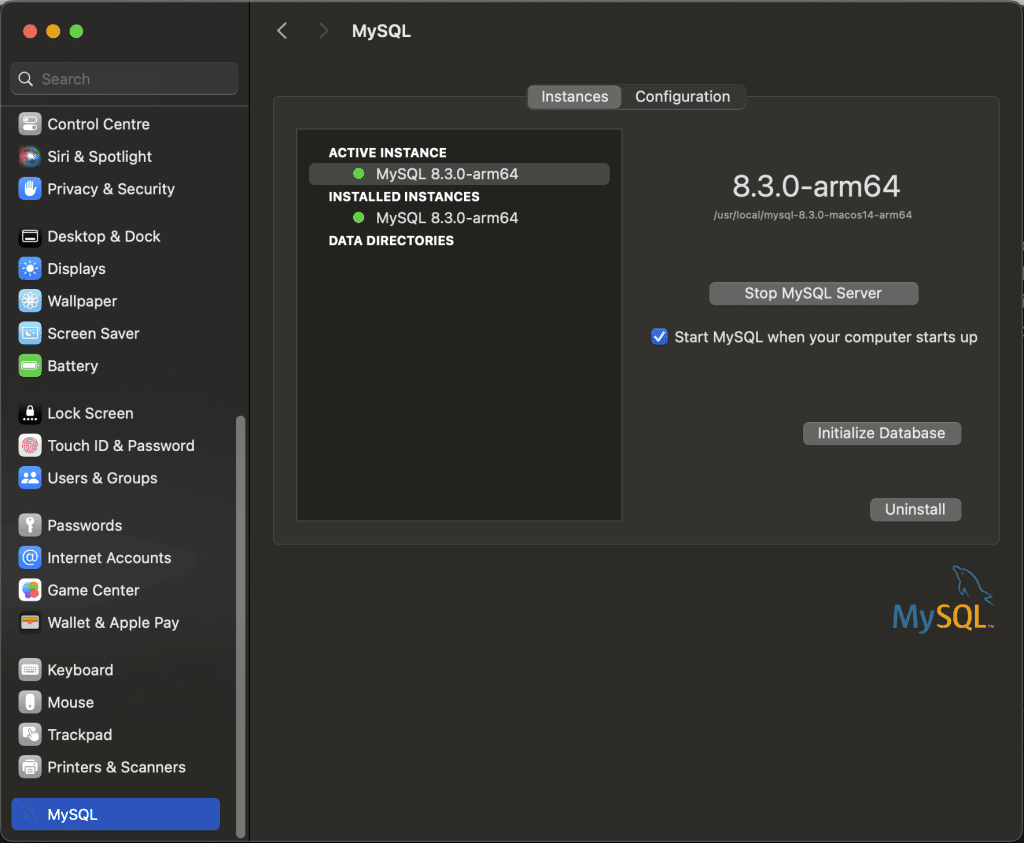
Here we can start, stop, and configure the MySQL server instance. Let’s make sure that the Turn on Automatically Start MySQL Server on Startup check box is clicked.
The defaults should be fine for everything else. Click OK to close System Preferences and apply the changes.
Now whenever your reboot your computer, MySQL will automatically start running as a background process, ready for you to connect your programs or databases to it.
Step 4 – Securing MySQL Installation
The MySQL install leaves access completely open by default. Let’s lock that down so only approved accounts can interact with the MySQL server.
We’ll need to connect to the database and run a simple script that removes some dangerous defaults, installs security updates, and asks you to set a new MySQL root password.
Follow these steps exactly:
- Open a new terminal window
- Connect to the MySQL server by typing
mysql -u root -p - When prompted, enter your macOS login password
- You should now see something like
mysql>indicating you’re connected to the MySQL server - Copy and paste the following script into the mysql terminal then press enter:
ALTER USER 'root'@'localhost' IDENTIFIED WITH mysql_native_password BY 'password';

uninstall plugin validate_password;
ALTER USER 'root'@'localhost' IDENTIFIED BY 'password';

ALTER USER 'root'@'localhost' IDENTIFIED WITH mysql_native_password BY 'Mys1456%12xbn';

FLUSH PRIVILEGES;
exitImportant: When you paste the script, replace ‘NewPassword!’ with an actual secure password you want to set for MySQL root user. If you are unable to open mysql you will need to add its path first here is a troubleshooting guide https://felixrante.com/troubleshooting-common-issues/
This will run a sequence of commands that secures the MySQL installation, including removing insecure default settings, updating the root password, and flushing privileges.
Once run, MySQL should now only allow local root login using the new password you set.
Test this by connecting again using:
mysql -u root -pWhen prompted for password, enter the new one your set in the script, and you should login successfully.
And that’s it! MySQL is now fully installed, configured, and secured on your Mac.
Step 5 – Testing Your Install
Let’s do a quick test to validate everything is working properly.
Log back into the MySQL server using:
mysql -u root -p Then enter:
SHOW DATABASES;You should see something like:
+--------------------+
| Database           |
+--------------------+
| information_schema |
| mysql              |
| performance_schema |
| sys                |
+--------------------+
This shows the built in MySQL databases. If that works without errors, congratulations – you now have a full MySQL server running on your local Mac!
You can now begin creating your own databases, tables, and users, and connect your applications or administrative tools like Workbench or Sequel Pro to manage everything.
I hope you found this step-by-step tutorial valuable! Having local access to a MySQL server is a must for any serious developer working on web apps or other MySQL database-driven software.
If you have any trouble with the installation, leave any feedback or questions in the comments section below!
[…] the standard Installer wizard, accepting the licenses and choosing all default options. Check the MySQL detailed installation for […]